")

Yes, you can winterize your lawn sprinkler system without an air compressor. Use gravity-drain methods, open manual drain valves, try a wet/dry shop vac, protect the backflow preventer, and insulate exposed parts. In mild-to-moderate freeze zones, these options work well. In harsher climates, a full blowout is safest—but you’ve got options right now.
What you’ll learn from this blog
- How to winterize sprinklers without an air compressor, step by step
- Gravity-drain, shop-vac, and siphon-assist methods (and when each works)
- Backflow preventer protection that actually matters
- What to do with drip lines, hose bib timers, and tricky zones
- When to call a pro before a hard freeze cracks a line
Start here: the fast gravity-drain that most folks skip
Short version: Water wants to go downhill—let it. If your system has manual drain valves or low-point drains, you might be 80% done in 20 minutes.

Quick steps
- Shut off the irrigation water at the main shutoff.
- Open the test cocks on your backflow preventer (slightly angled upward so air can enter).
- Open each manual drain/low-point valve. Place a bucket if needed.
- Pop a few lowest sprinkler heads to let air in and water out.
- Leave everything open for a few hours. Re-check and re-drain.
A homeowner on our block swore his lines were “empty” until we cracked a low-point valve—out came a pint of water per zone. Gravity doesn’t miss much, but it can’t drain what’s sealed by trapped air. Let the system breathe.
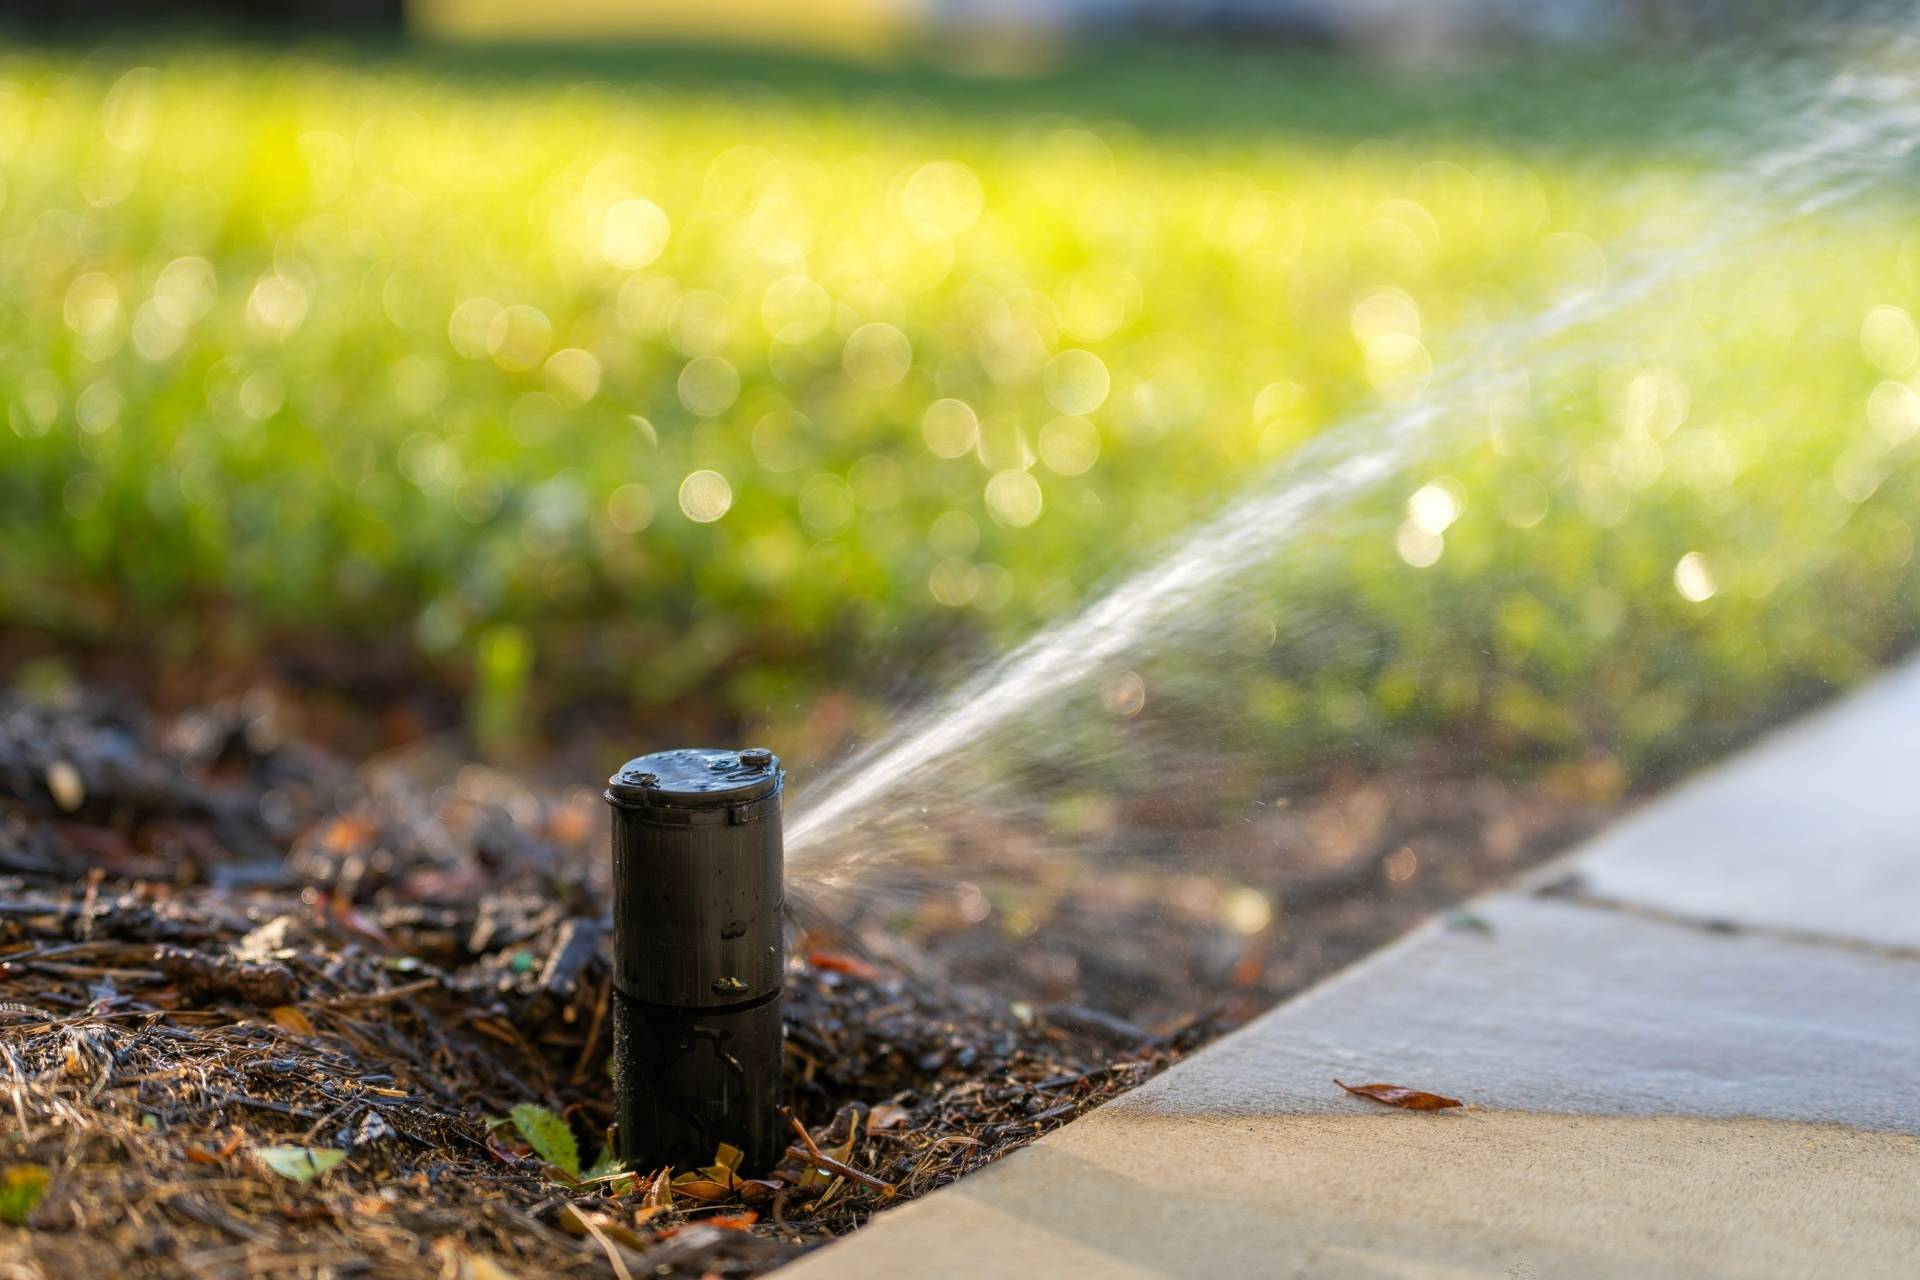
Shop-vac to the rescue (no compressor? no problem)
A wet/dry shop vac won’t match a true blowout, but it will nudge out pockets of water that gravity can’t reach—especially in shorter runs and near heads.
How to use a shop vac safely
- Access: Remove a sprinkler head or open a drain cap at the end of a lateral line.
- Vacuum in pulses: 10–15 seconds on, then pause to let water settle.
- Rotate zones: Work from the highest to the lowest zones.
- Don’t chase every drop: Your aim is to remove standing water, not bone-dry lines.
Real-world example: We vacuumed a small cul-de-sac front yard—each lateral gave up a few cups. Not dramatic, but those cups are exactly what freeze and split fittings.
Backflow preventer and valves: small device, big protection .
These parts are pricey—give them the VIP treatment. If you only do one “extra” thing, do this.
- Drain the backflow: After shutting off the irrigation main, open the test cocks and the downstream shutoff to relieve pressure. Tilt the unit slightly if it’s safe and accessible to encourage drainage.
- Insulate: Wrap the body with insulation or a purpose-made cover. Keep vents clear.
- Antifreeze? Only in specific cases: If allowed by local code, a splash of non-toxic RV/Marine antifreeze can be used in the backflow body (not the lines themselves). Never use automotive antifreeze; it’s toxic.
- Valve boxes: Scoop out water, prop the lid, and let them dry a bit. A small towel or handful of dry leaves can reduce pooling. Low-tech, but it works.
Drip lines, hose bib timers, and those “gotcha” zones
Drip and accessories behave differently than spray heads—and they’re easy to forget.
Do this quick sweep
- Drip zones: Open end caps and let them trickle out. Drip tubing holds water like a straw.
- Filters and pressure regulators: Unscrew, drain, and bring them indoors if possible.
- Above-ground risers: Crack the union and tip them to drain.
- Hose bib timers and splitters: Remove, shake out, and store inside. They split surprisingly often in December.
- Sprinkler heads: The lowest one in each zone? Unscrew, drain, and loosely cap.
A neighbor once “winterized” but left a hose timer outside. First freeze popped it, and the surprise leak showed up with the first spring watering. Ten seconds to remove it in fall would’ve saved a soggy flower bed.
How cold is your winter? When to stop DIY and call a pro
Here’s the honest line in the sand: If you live where the ground freezes deep and stays there—think weeks below 20°F—DIY without an air compressor is a gamble. In shoulder seasons or milder climates, gravity-plus-vac is usually enough.
Not sure when the freeze usually hits or what temperature is best for winterizing? Learn the step-by-step timing and checklist for winterizing your sprinkler system here.
Signs you should get a professional blowout
- Your system has long runs or complex slopes.
- You’ve had freeze damage before.
- You can’t find all your low-point drains.
- The first hard freeze is less than 48 hours away.
If you’re on the fence, ask yourself: What costs more—an hour of pro help or a cracked lateral under your new sod?
A quick, no-guesswork checklist
- Shut off irrigation water at the main.
- Open backflow test cocks; relieve pressure.
- Open all manual/low-point drains.
- Pop and drain the lowest head in each zone.
- Shop-vac stubborn lines, 10–15 second pulses.
- Drain drip end caps and accessories; store timers indoors.
- Insulate the backflow and exposed piping.
- Re-check after an hour; repeat any low drains.
- Make a note for spring: Replace any worn caps or seals.
Conclusion
You can absolutely winterize sprinklers without an air compressor—especially with gravity drains, a little shop-vac help, and smart backflow protection. If your winter bites hard, bring in backup before that first deep freeze. Need a hand or a quick sanity check? Contact Us at Turf Rain, and we’ll help you button things up with zero guesswork.
")

Leave A Comment