")
Usually, DIY sprinkler winterization is cheaper only if you already own the right air compressor and fittings. If you need to rent gear—or if a mistake cracks a backflow or valve—the professional route often costs less overall. For most homeowners, paying a pro is the safer, predictably priced choice once risk is included.
What you’ll learn from this blog
- Real cost comparison: DIY vs. hiring a pro
- Tools you actually need (and which ones are overkill)
- A simple step-by-step for a safe DIY blowout
- Hidden costs and common mistakes to avoid
- When DIY makes sense—and when it doesn’t
- What Turfrain does differently to protect your system

Let’s talk real numbers first (because that’s why you’re here)
If you already have a capable air compressor and fittings, DIY can cost close to 0–20 in consumables. Renting changes the math fast: compressor rental (30–60/day), adapters and tape (10–25), plus 1–2 hours of your time. A professional blowout typically runs 60–150 per system depending on zones and access.
The wildcard? Risk. A cracked backflow, burst PVC, or fried valve can cost 150–600+ to repair. That’s why plenty of homeowners end up saving money by hiring a pro, especially if this is your first time or your system has quirks.
What DIY really takes (tools, time, and a careful step-by-step)
You don’t need a monster compressor, but you do need one that can deliver adequate airflow. Many small pancake units struggle; they can work slowly, but heat and impatience cause mistakes. A better setup is a portable compressor with enough CFM (often 10–20 CFM) and a regulator to keep pressure within manufacturer limits (commonly 50–80 psi—always check your system).
You’ll need:
- Air compressor with regulator and moisture trap (optional but helpful)
- Quick-connect adapter for your blowout port (and a backup)
- PTFE thread tape, safety glasses, gloves
- A watchful eye and a light touch on the regulator
Quick, safe DIY steps (read first, then do)
- Shut off water to the sprinkler system at the main or backflow.
- Open a drain or a low-point valve to relieve static pressure.
- Connect the compressor to the system blowout port with a proper adapter.
- Set the compressor regulator to your system’s safe range (often 50–60 psi; do not exceed manufacturer guidance).
- Run one zone at a time until mist turns to intermittent puffs; 1–2 minutes is common—avoid continuous high-pressure blasting.
- Cycle through all zones; repeat lightly if needed, keeping pressure consistent.
- Open any manual drains and leave backflow test cocks at 45 degrees if applicable.
- Disconnect everything, close controller, and tag the system as winterized.
Hidden costs you only notice in spring
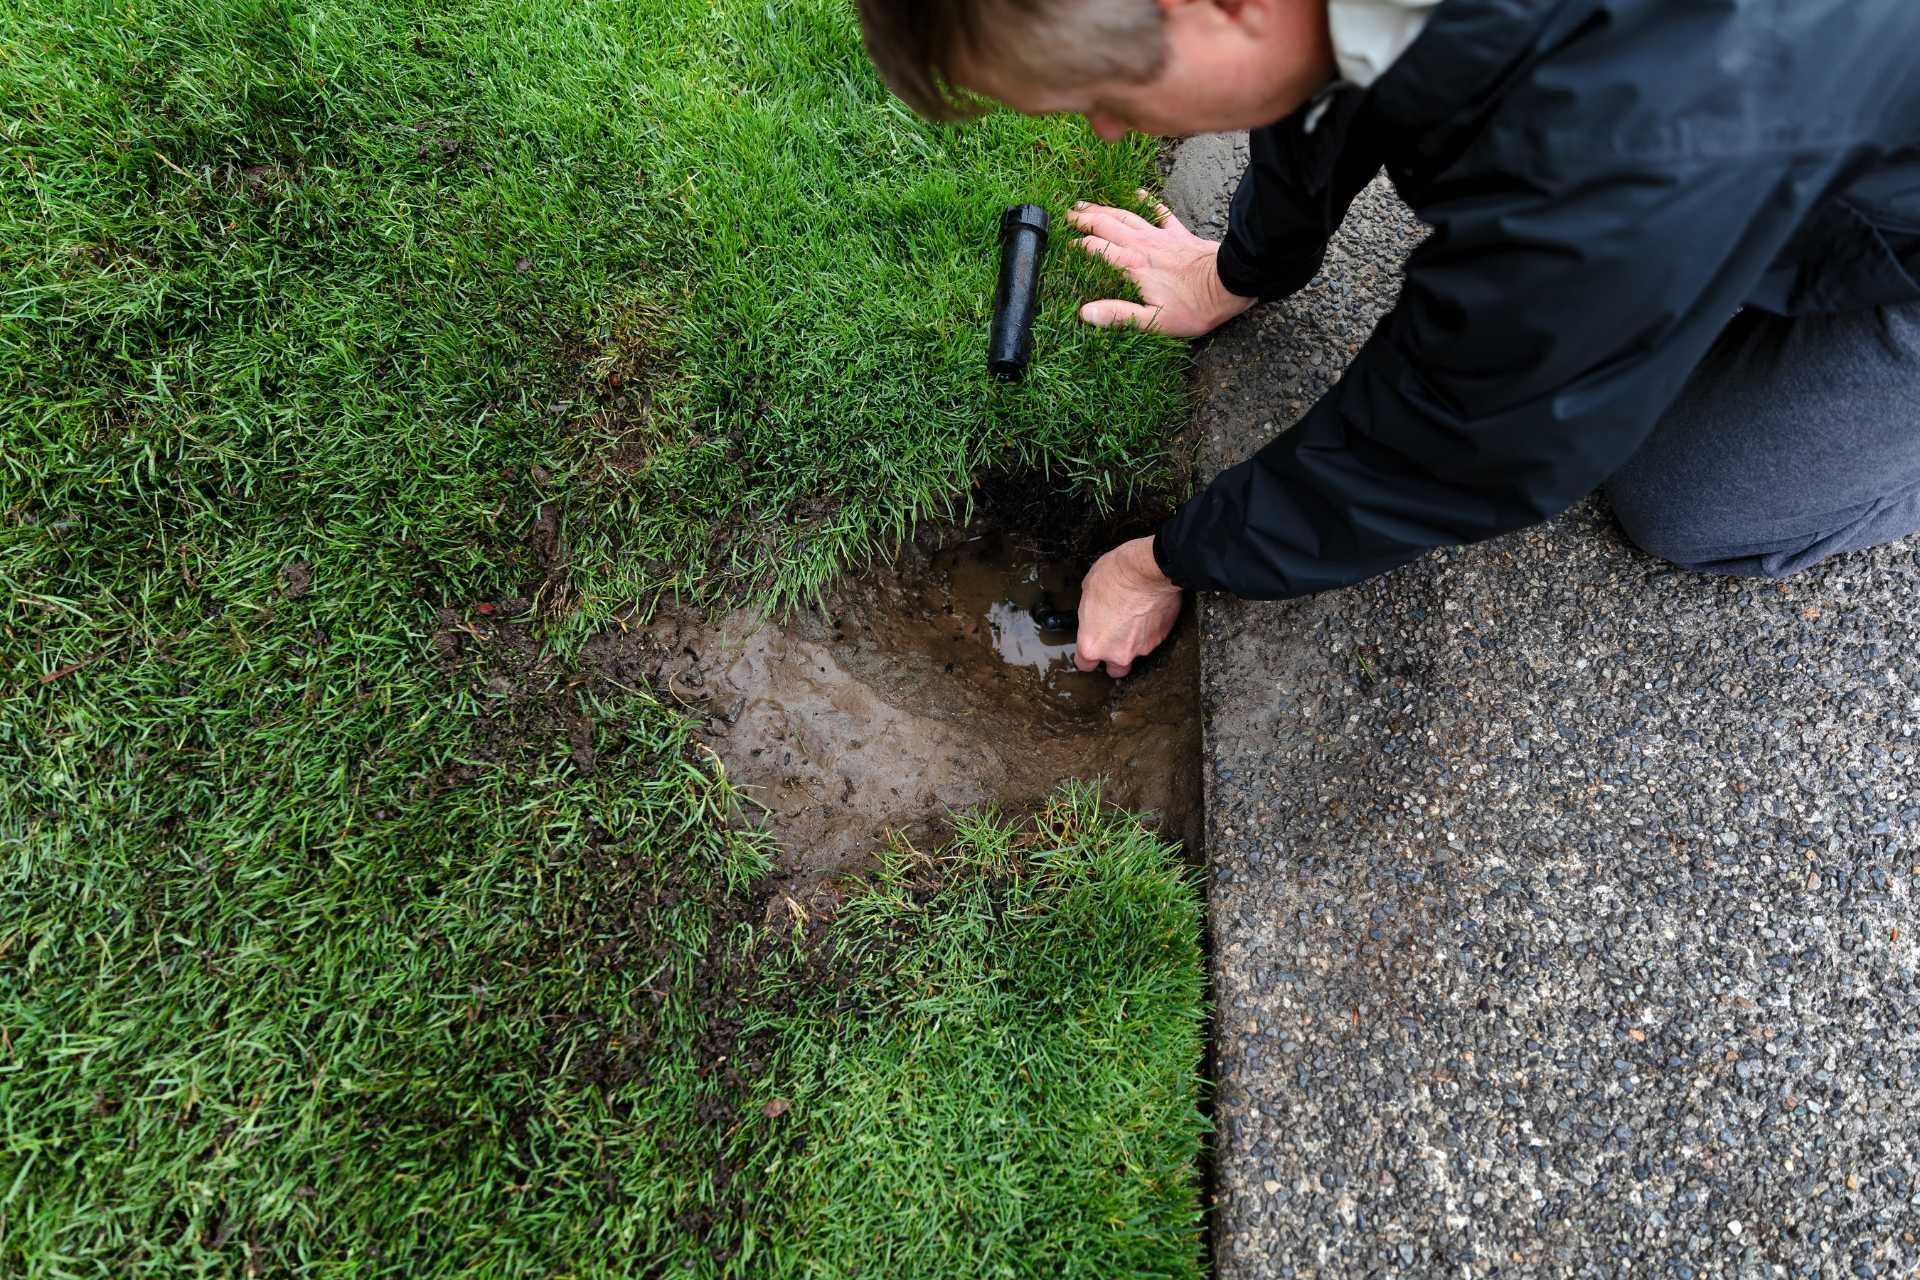
It’s not the rental fee that stings—it’s the “oops” costs that surface months later. A neighbor of mine thought a quick afternoon blowout was fine until spring revealed a hairline crack in the backflow body. The repair was $380, plus a weekend without irrigation. Here’s what bites people:
- Over-pressurizing zones or backflows
- Leaving residual water in low spots or swing joints
- Rushing a small compressor and overheating components
- Forgetting to open manual drains and test cocks
- Using the wrong adapter and stripping threads
DIY vs. hire: a simple way to decide
Choose DIY if:
- You already own the right compressor and fittings
- Your system is straightforward (few zones, easy access)
- You’re comfortable regulating pressure and moving methodically
- You’re okay accepting repair risk if something cracks
Hire a pro if:
- You’d need to rent gear or borrow a small compressor
- You have an RPZ/backflow, many zones, or mixed PVC/ poly lines
- You want predictable cost and a record of service
- Your property has shallow lines or lots of low spots
What a Turf Rain pro actually does (and why it’s faster)
The pro process sounds simple, but it’s deliberate. Turf Rain techs show up with high-flow equipment that moves air without spiking pressure, sweep zones in the proper order, protect your backflow assembly, and document your winterization. We look for trouble spots—low-lying heads, suspect fittings, weeping valves—so spring startup is boring in the best way.
Bonus value you feel later:
- Consistent, safe pressure management
- Efficient clearing for all zones, not just the obvious ones
- Fewer spring repairs and surprises
- Clear service record for warranties or home sales
Conclusion and a friendly nudge
If you’ve got the gear and the patience, DIY sprinkler winterization can be a money-saver. But if you’re renting equipment or feeling even a little unsure, hiring a pro is usually cheaper in the long run—and a whole lot calmer. Turf Rain would love to help you button things up right. Contact Us and we’ll get your system winter-ready without the guesswork.
")
